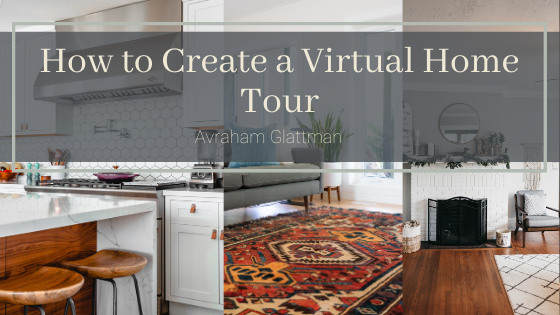
What is a Virtual Home Tour?
A virtual home tour is a real estate tool that allows potential buyers to view a home for sale in 3D. This will enable them to choose the room they wish to view and the angle from which they see it. Similarly, a 360-degree virtual tour uses panoramic photos that then allow prospective buyers to see what a room is like from inside and turn around a full 360-degrees within the room.
Why Virtual Home Tours?
These days approximately one-third of homebuyers say virtual tours and videos are important when it comes to their home search, and 79% of buyers shop online for homes according to the Consumer Housing Trends Report done by Zillow Group in 2018.
Virtual tours can help a home listing stand out from the competition. Buyers want to get a feel for a home before taking the time out of their busy lives to schedule an in-person visit. David Rudd, a real estate agent with Kindred Realty Group, reports, “Our homes with Zillow 3D Home have more views on Zillow – on average 15% more. Our listing clients love it as well!” So there are advantages to sellers’ agents in creating a 3D virtual home tour.
Steps to Create a Virtual Home Tour
Select Appropriate Software & Equipment
First, you will need to select your virtual tour software. There are different options to choose from, so be sure to find one that suits your needs. Once you have your software, you’ll also need an HDSLR or 360-degree camera. They are available for rent, but if you plan to create virtual tours for clients regularly, it may be worth purchasing a camera. Be sure to compare price, stabilizer options, resolution depth, remote operation, and battery life. To keep it simple, pick one that has the functionality you need without the extra bells and whistles. You’ll also want a tripod to secure your camera in position during your photoshoots. Look for one that has a bubble level, which will help you set up your shots.
Plan Your Photo Shoot
Make a list of the rooms you want to be included in your tour and take a walk through each. In each room, determine the best positioning for the camera to highlight the features of the room. Make notes as you go on where the camera should be in each room; this will give you a list of shots you need to create your tour.
Camera Set-Up & Room Preparation
To prepare the room, set up, and level your tripod in the predetermined location. Consider what height will give you the clearest shots and remove any obstacles in the camera’s line of sight. Once you’ve got your tripod leveled and obstacles cleared, test the remote operation and ensure proper lighting to make room features stand out.
Test Shots
Doing test shots in each room will give you the chance to see if room features show up clearly in the photo and are spotlighted the way you want them. Be aware of reflections in mirrors and windows, and make sure you’re not photobombing your pictures. You may need to make adjustments to your camera’s positioning, room lighting, placement of objects in the room, or your remote operation settings to get the shot you want.
Take Too Many Pictures
It’s always best to take multiple shots in each room to ensure you have what you need once you’re done. It may seem like overkill, but you’ll be glad you have images to choose from when it comes to putting your virtual tour together.
Create a Virtual Tour Using Your Software
Once you’ve got all the images on your list, you will need to upload the pictures to the software you’ve selected. The software will allow you to stitch together the photos to create seamless movement within the rooms and will allow you to add features like mouse-overs, clickable hotspots, music, and voiceover.